I’m so excited to share with you how I covered my cushions on my New (to me) Hybrid Camper. I used the same method that I used when I covered the cushions in my Pop Up Tent Trailer, and I made a video of those cushions also. That video can be found on my You Tube Channel. This tutorial would work for any kind of cushions that you want to recover. I think it’s pretty easy and anyone can do it. I wrote down step by step instructions for myself, so I thought I would share them with you. If you would like to sew along with me, watch my YouTube Video. And, while you’re there, subscribe to see more videos. I post other how to’s for my trailer, trips that we take, random life, fashion, sewing and more. I would love to have you as one of my subscribers! And, please leave a comment. 🙂 I also have a facebook group, Farrell Focus. Come join us and share your thoughts on this video and others. YouTube.com/farrellfocus Facebook.com/farrellfocus
If you have any questions or comments, the best way to contact me is on Facebook, come find me: facebook.com/stephaniefarrell123
I would love to see how your cushions turned out!
Easy RV Cushions
No Zipper, No Velcro.
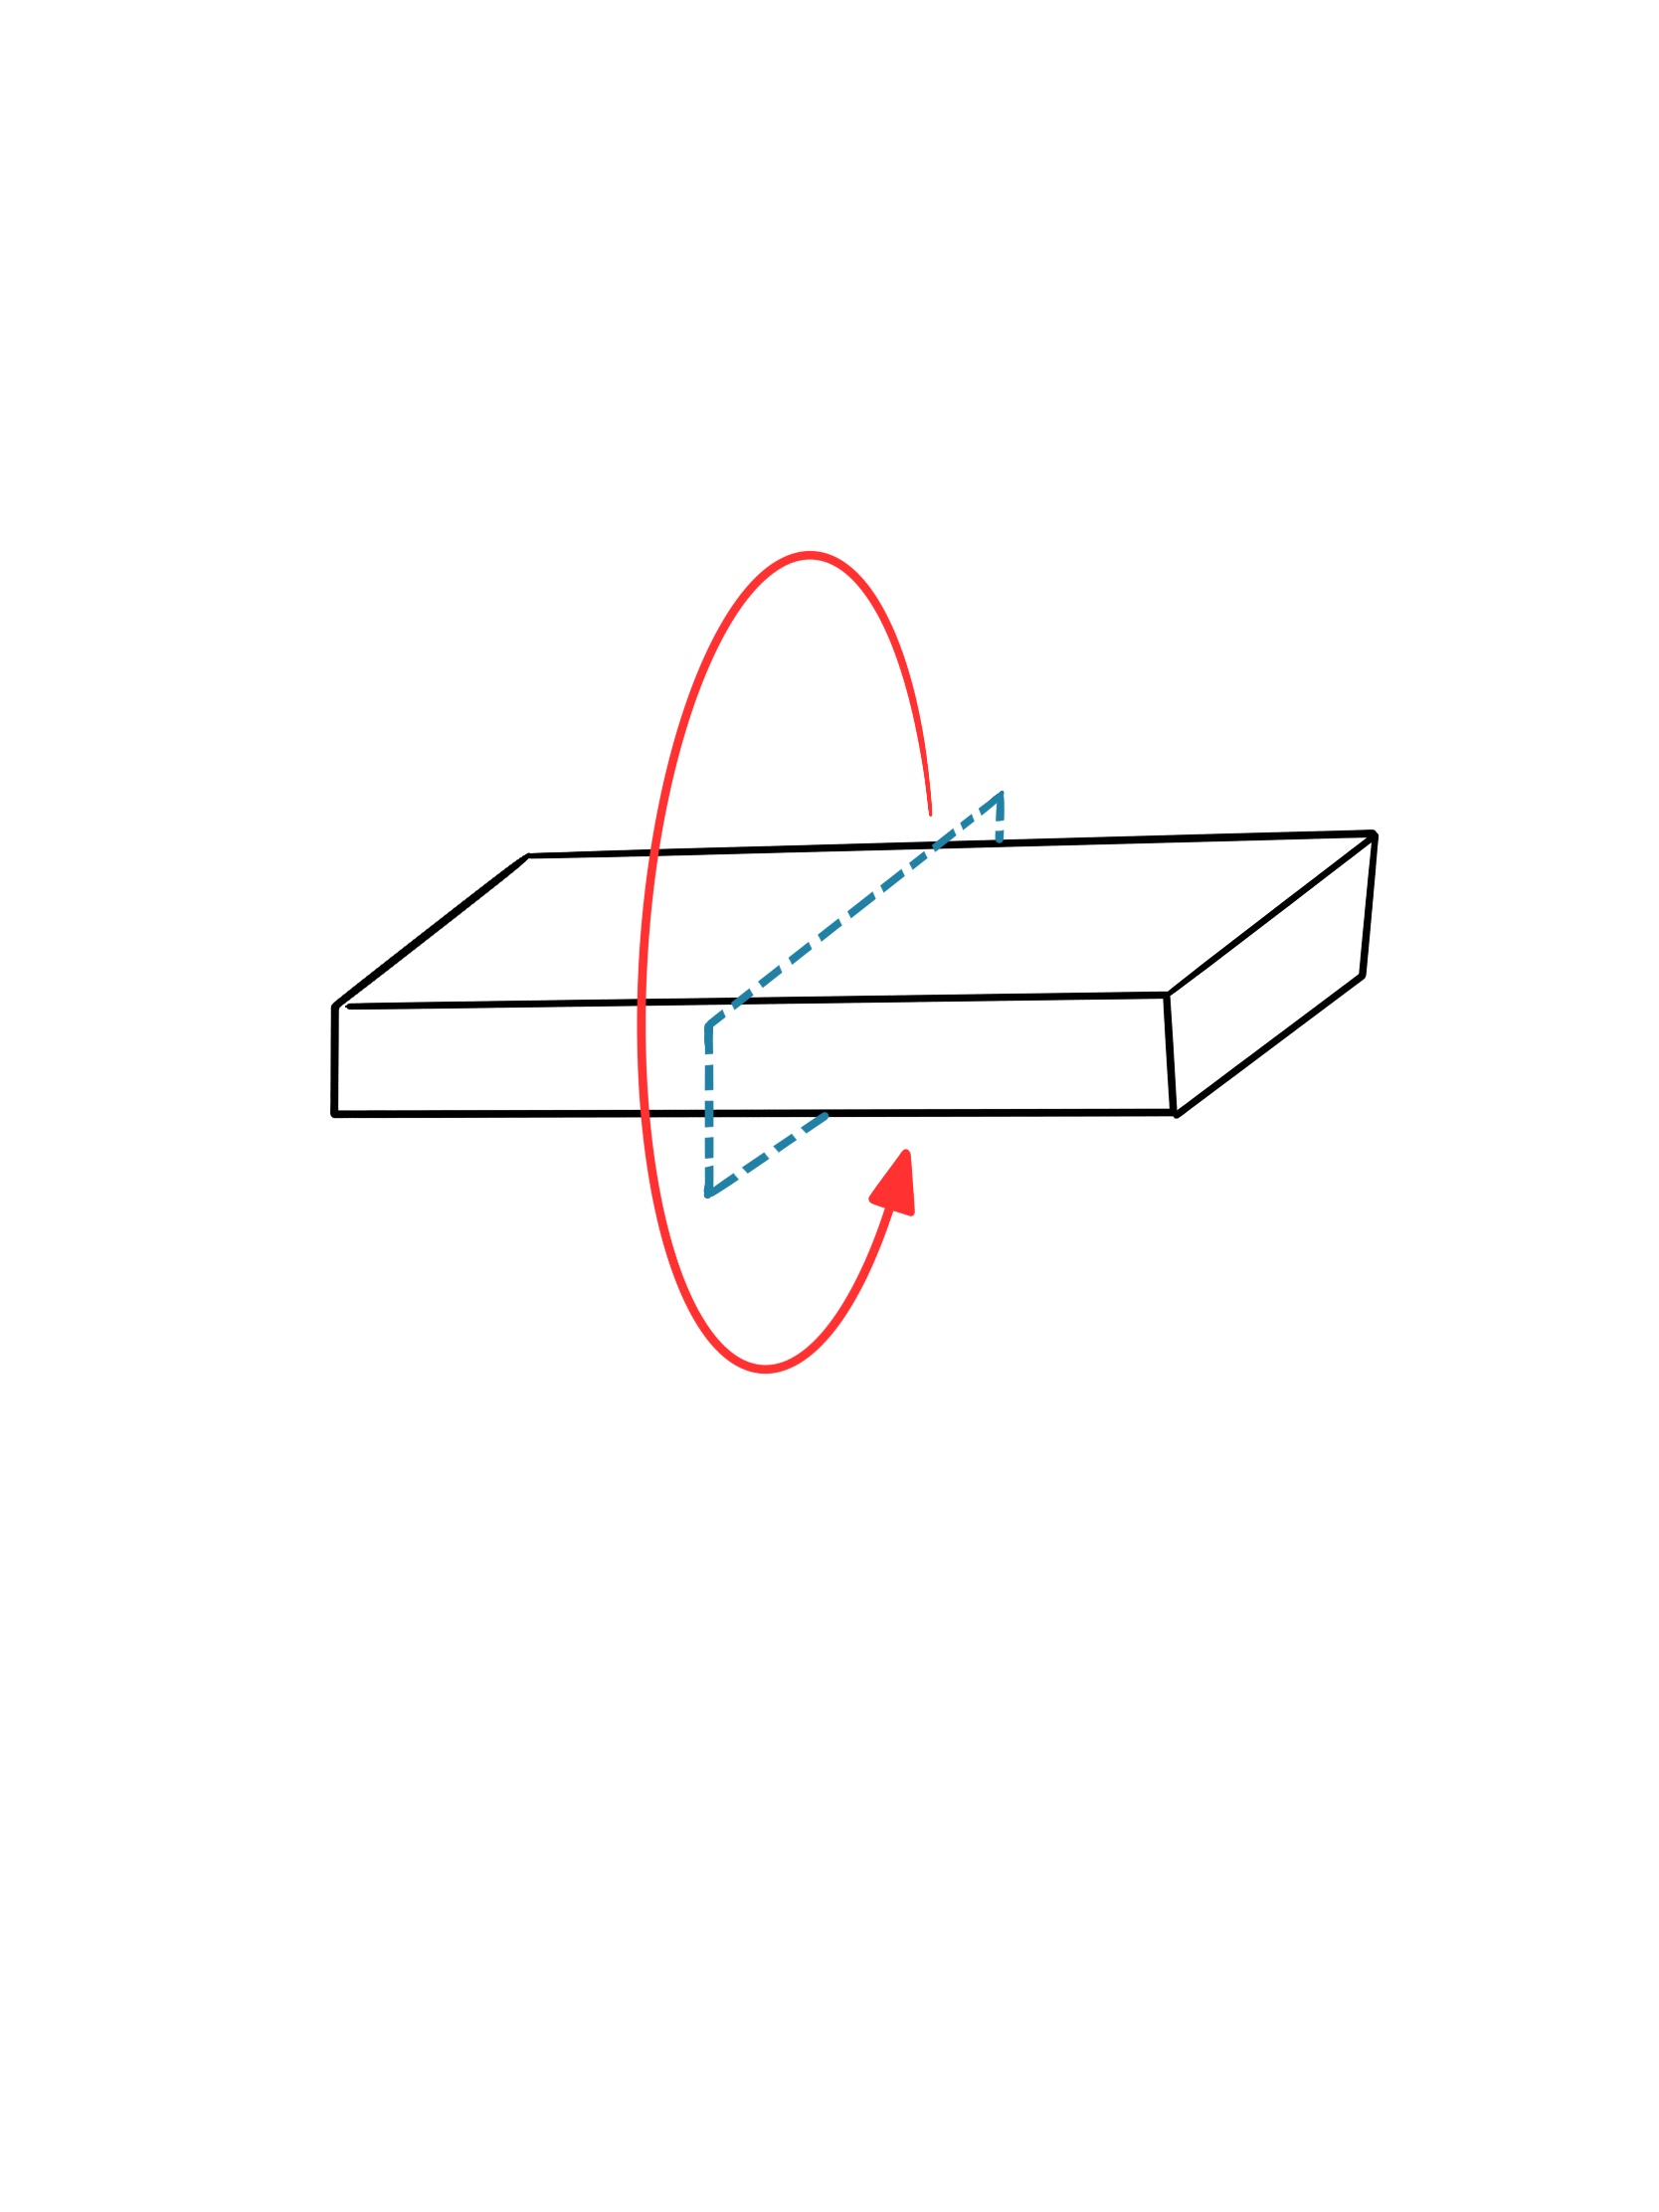
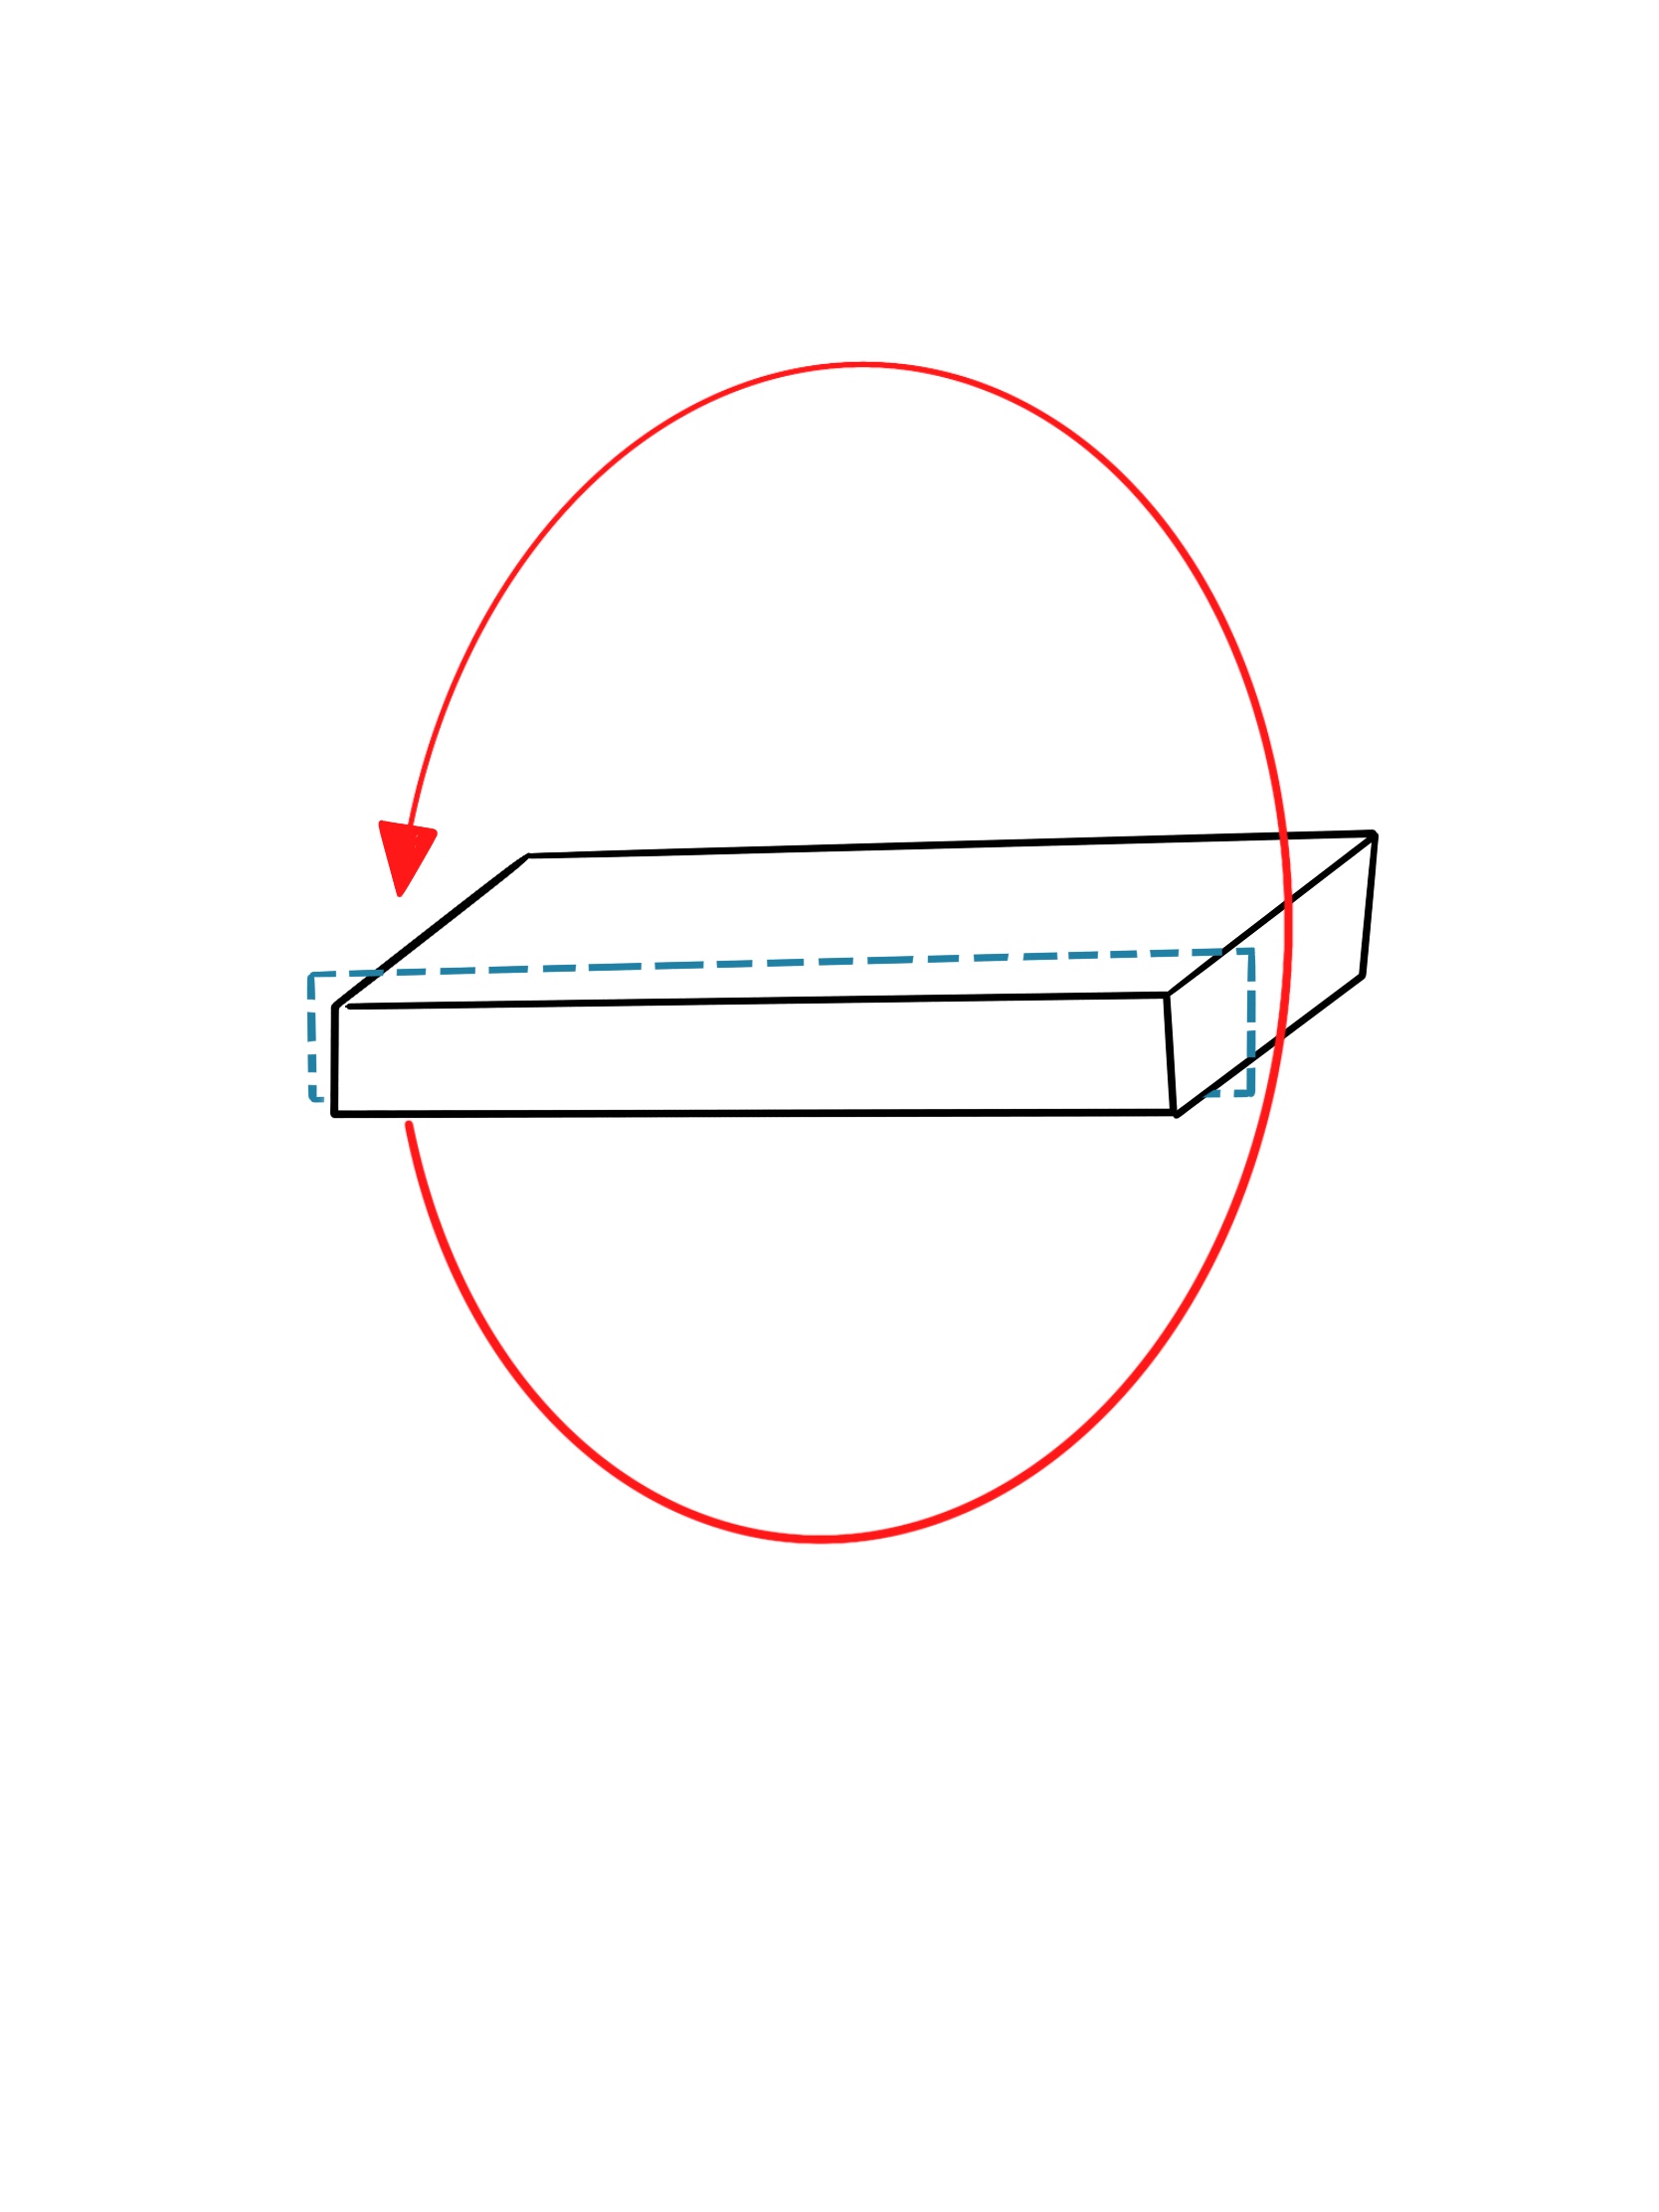
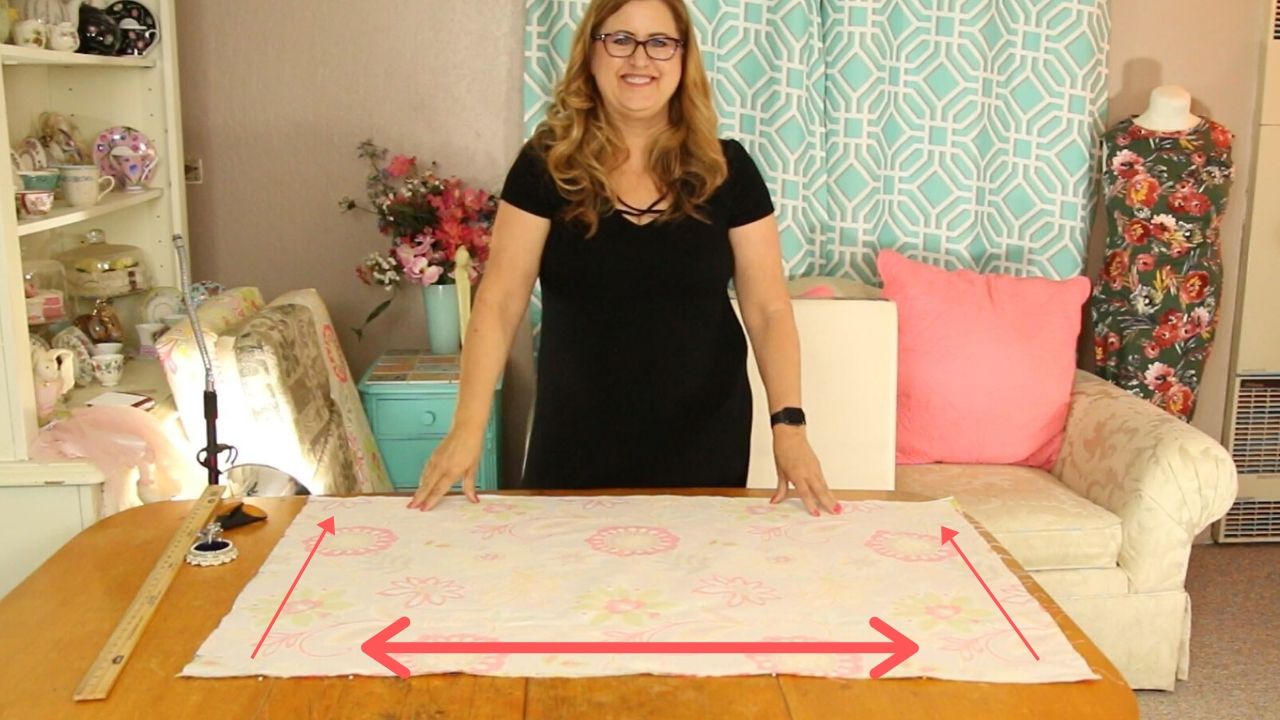
Step 1 – measure cushions, Add a seam allowance on all sides. I used 1” to be simple, use whatever seam allowance you like.
Measure all the way around for both the width and again for length.
Step 2 – Choose Fabric. I used home décor fabric from Joanns. You will need to know how wide your fabric is, so you will know how much to get. If you need help, watch my video on measuring your cushions for fabric. https://youtu.be/6LywONwS_q8
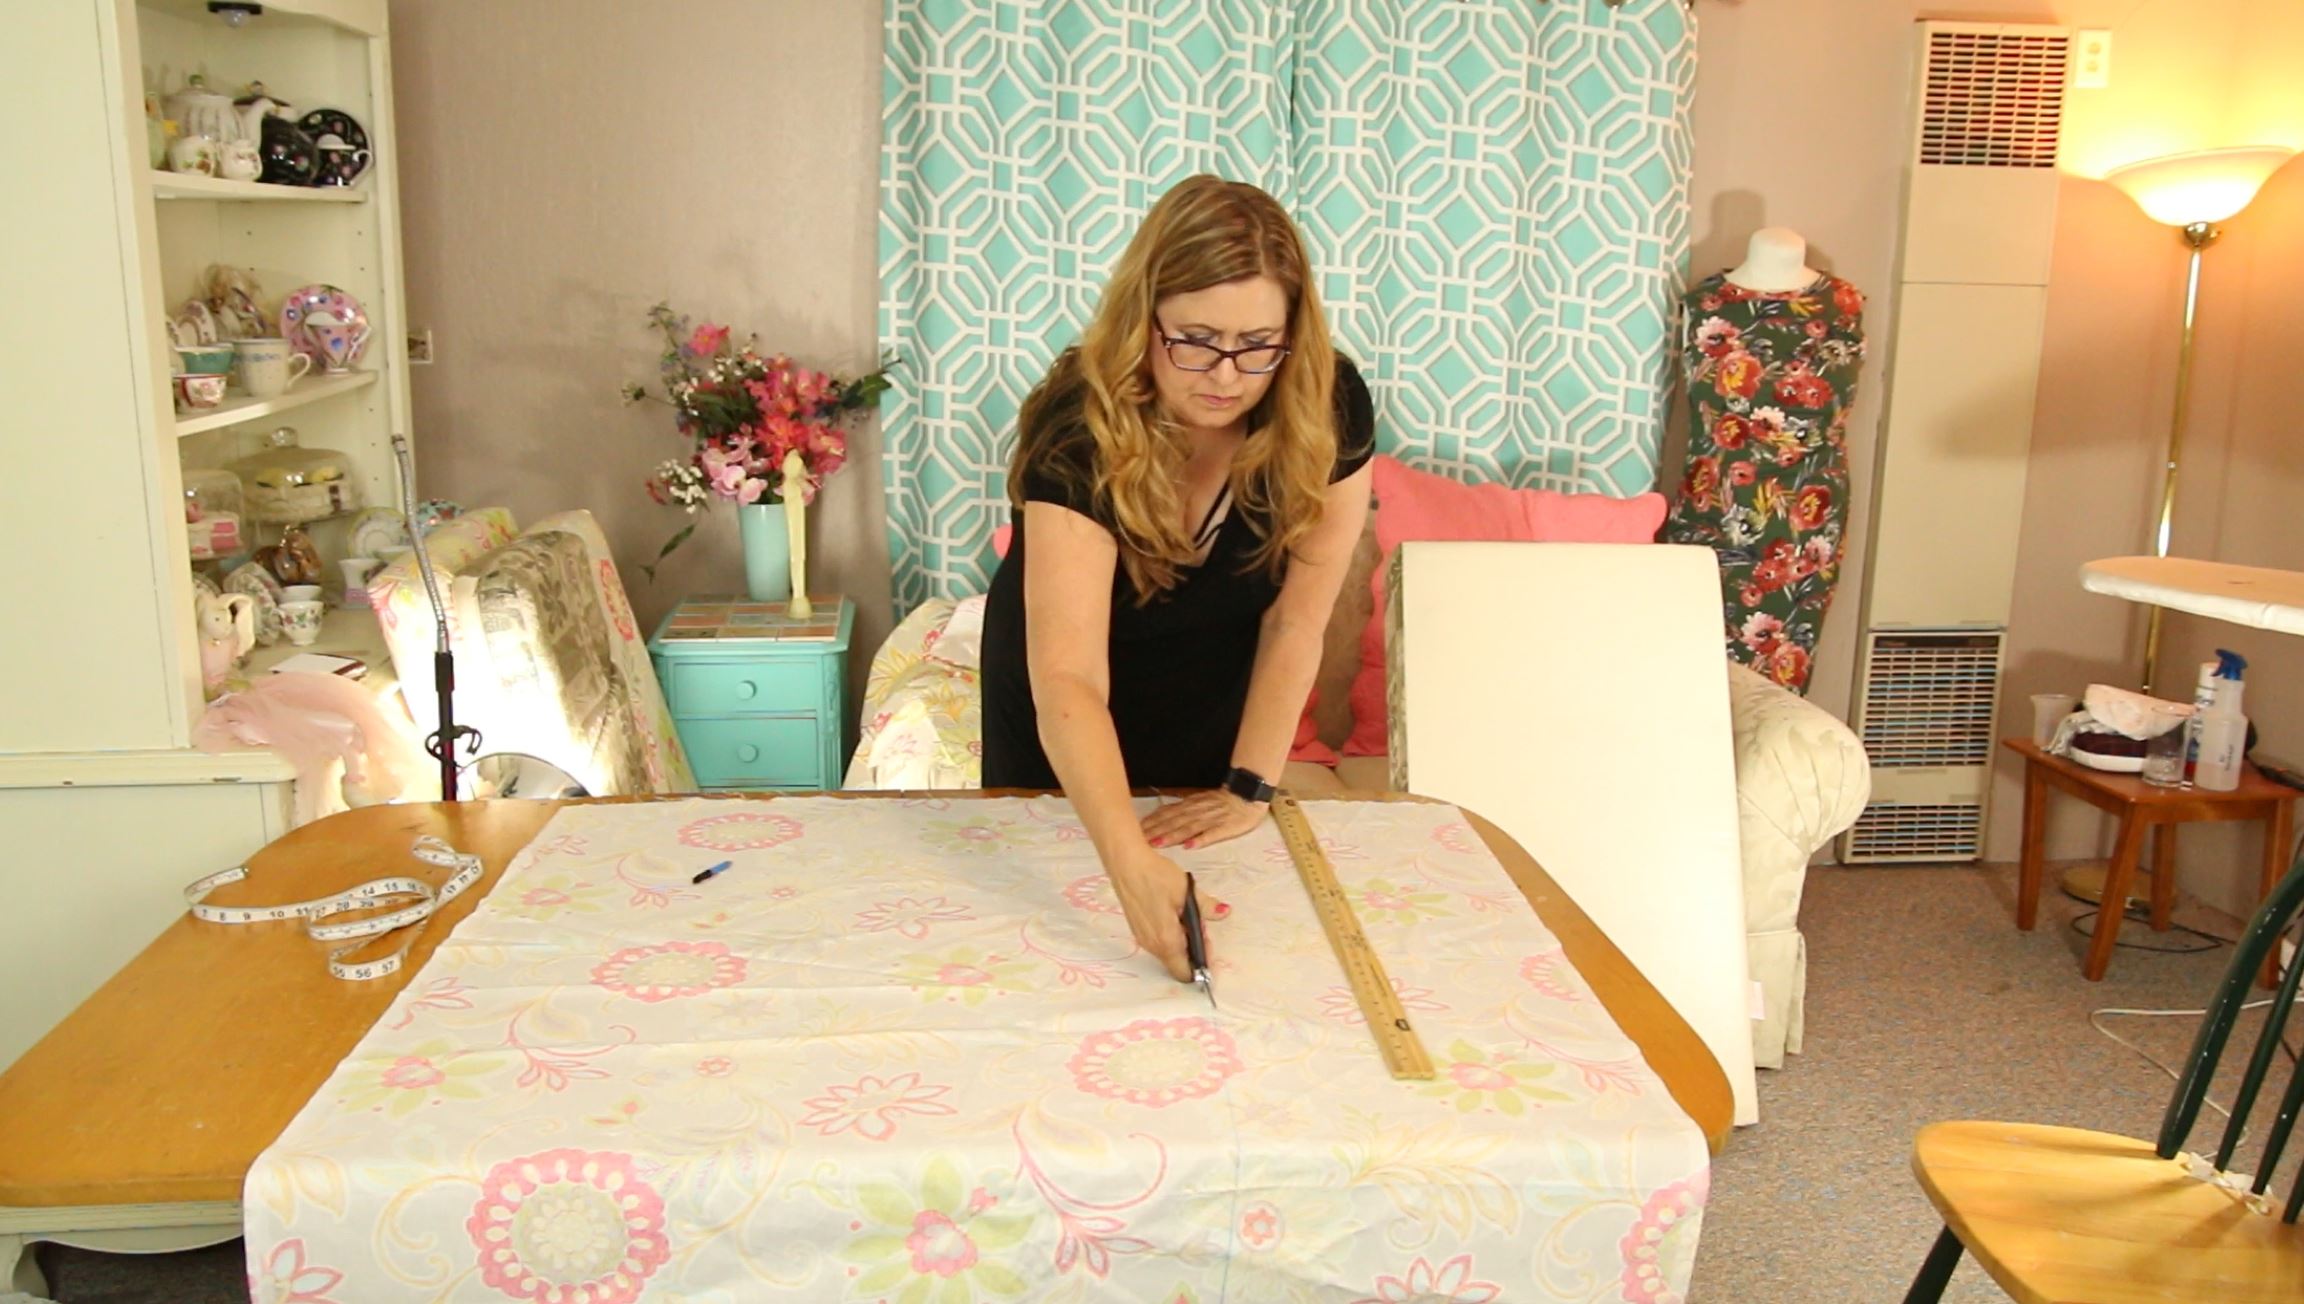
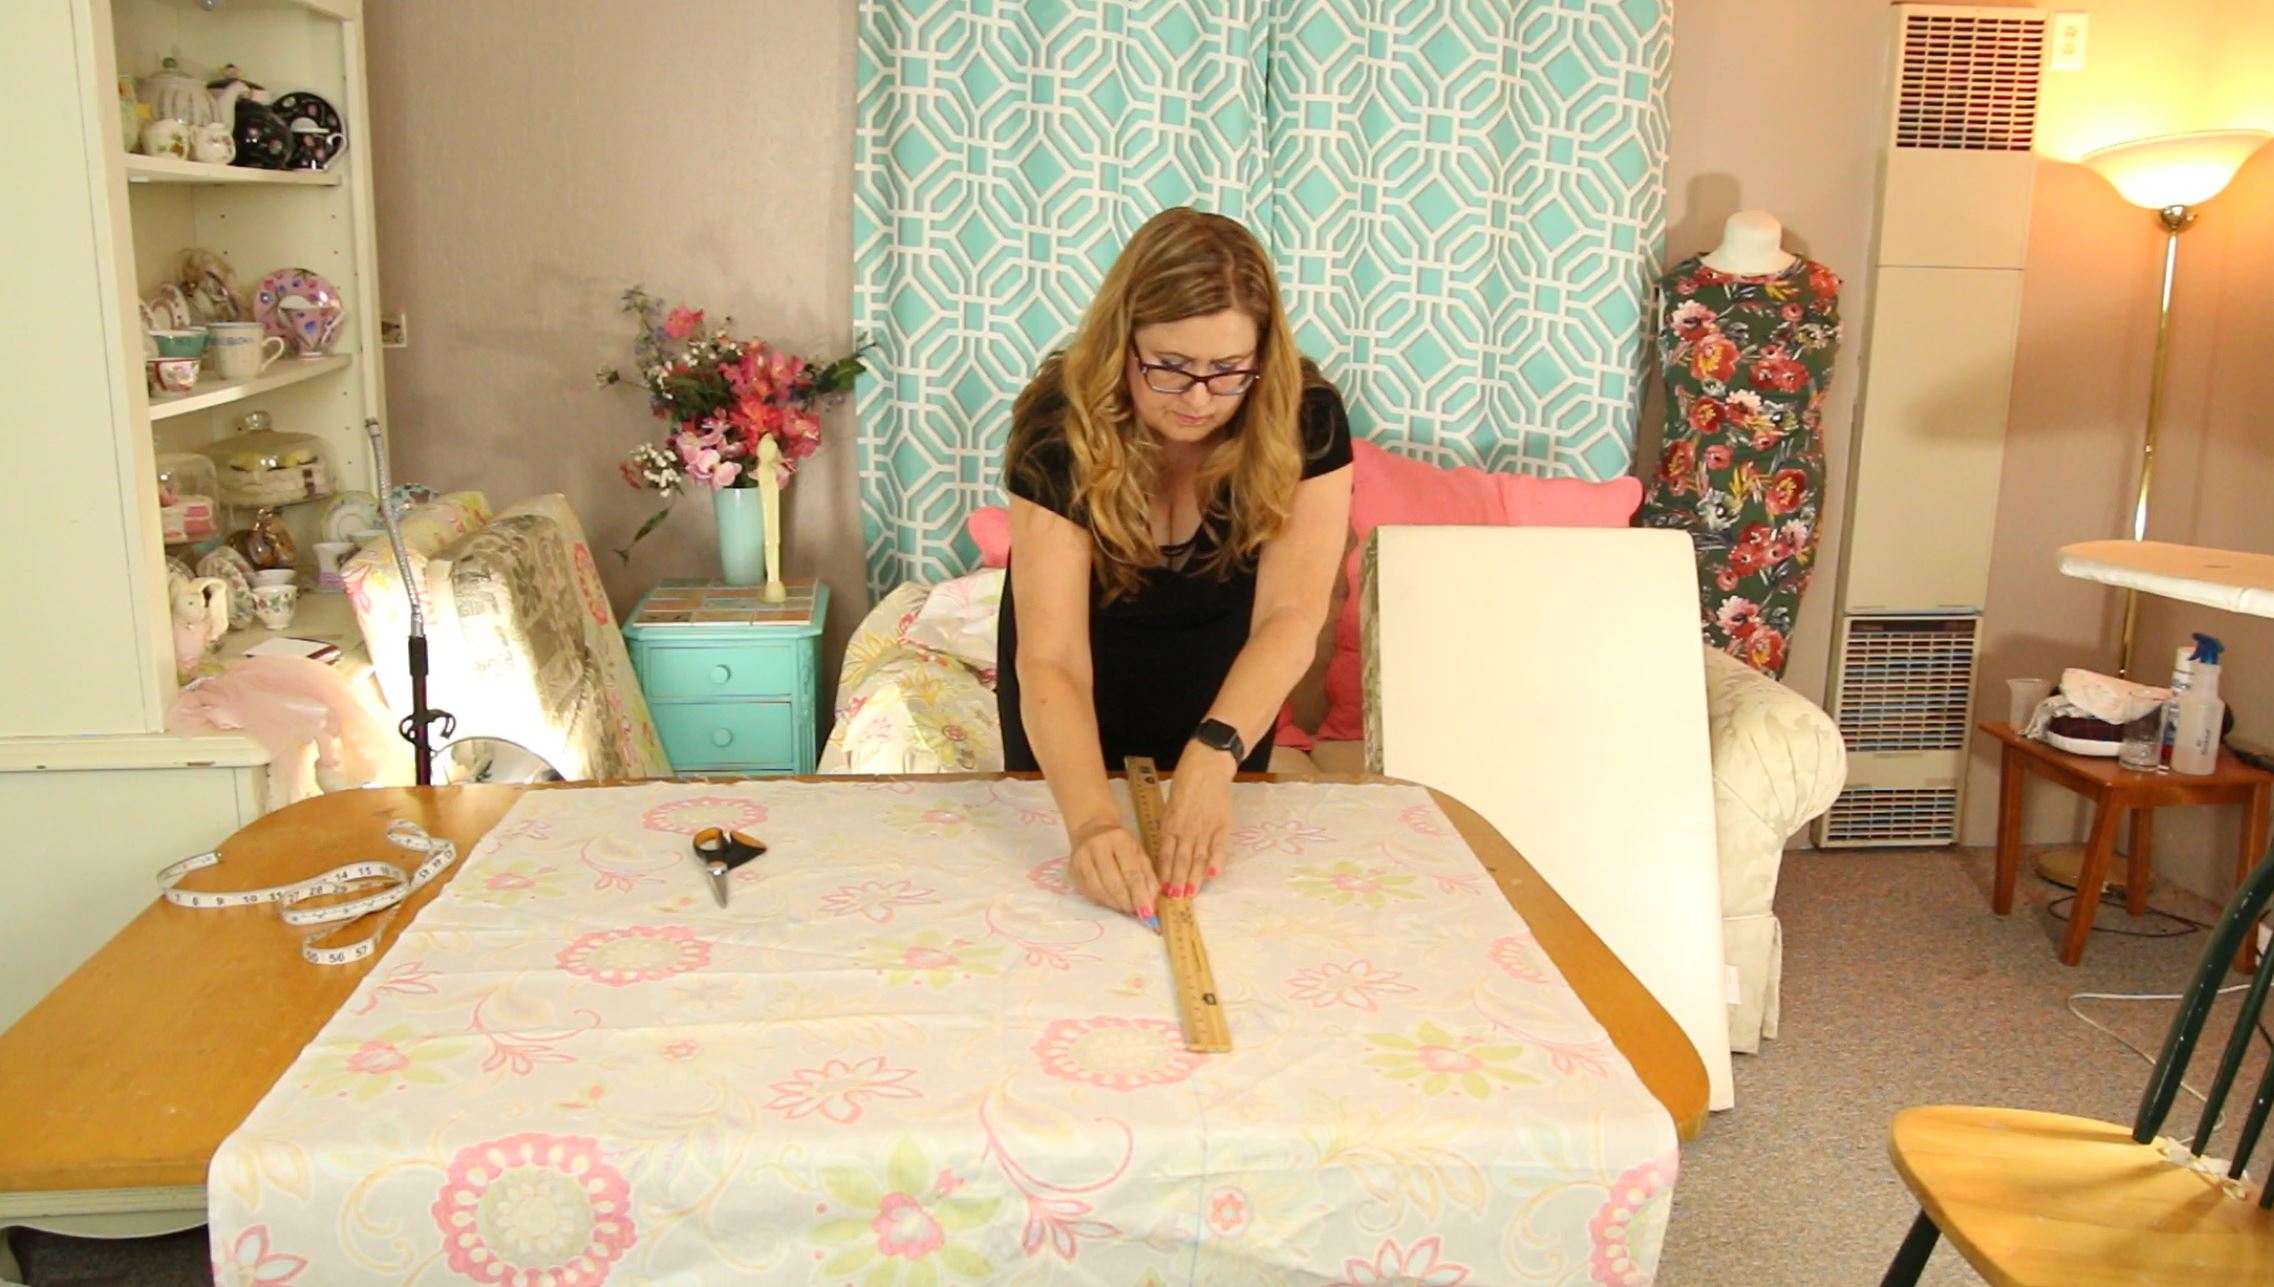
Step 3 – Cut fabric. For smaller cushions you will have one piece of fabric, for larger ones, you will have two. Iron your fabric to remove any set in wrinkles. I recommend that you do NOT wash the fabric. The stiffer it is the better.

Step 4 – Sew 3 sides right sides together.
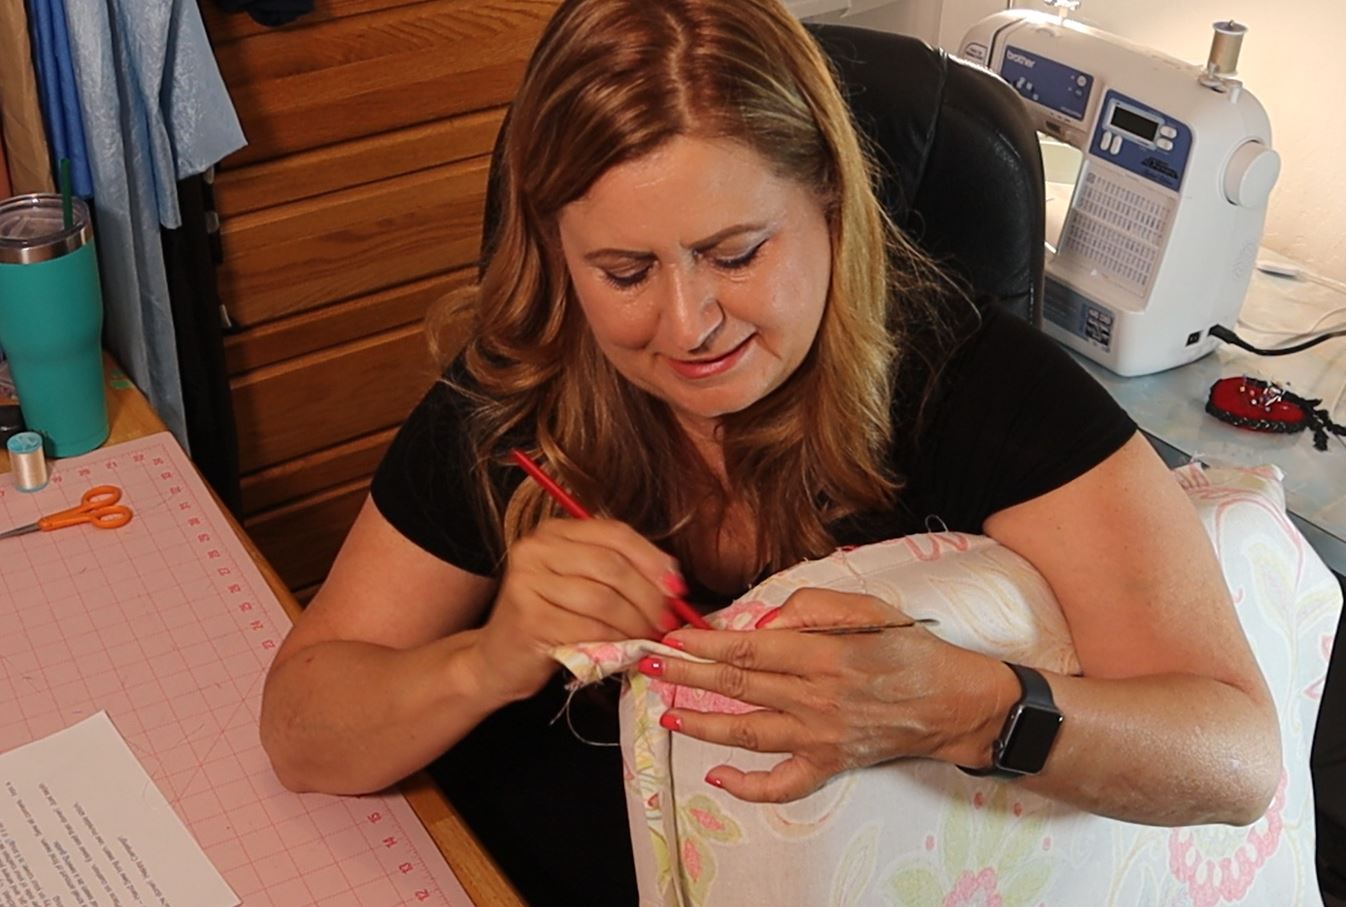
Tip: Sew the long side first. Then sew each side starting from the long side that you just stitched. Try them on your cushion. Mark where your corners will go, and where your final seam will go.
Tip: use the zipper side of your original cushion as the bottom.
Tip: when you try on your cover, is it snug? If it isn’t, adjust (re-do) seam to make it snug.
Step 5 – machine sew a small amount of final (hand sewn) seam. Sew all corners.
Tip: If you do not know how to square off the corners, I explain and show you in my video.

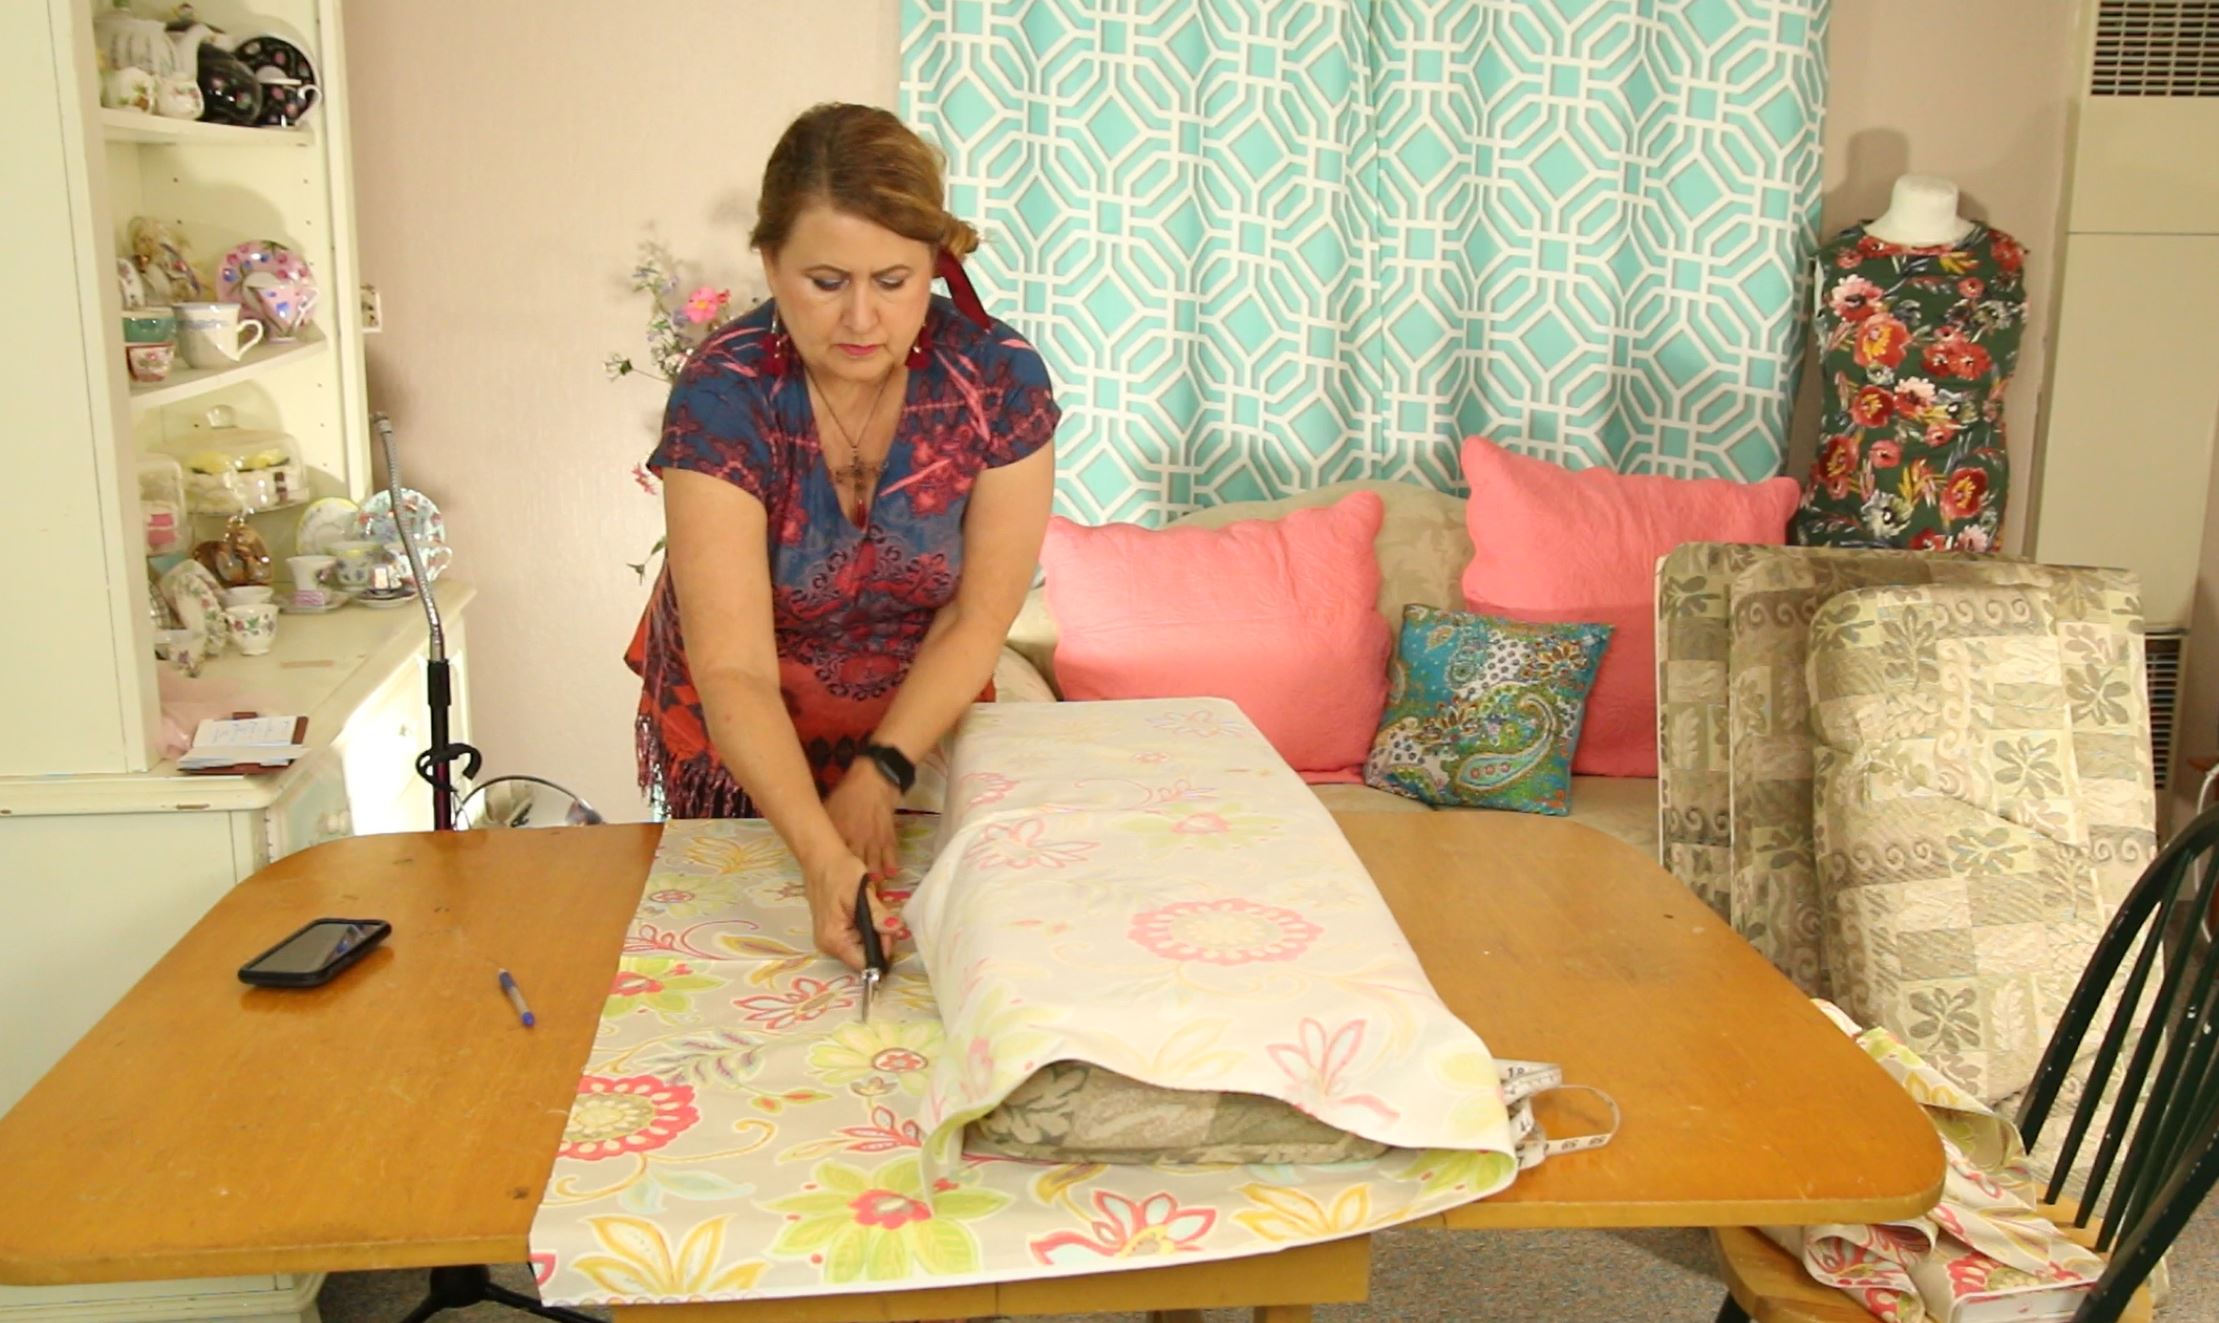
Step 6 – Place on cushion. Easier said than done!! Just sayin.
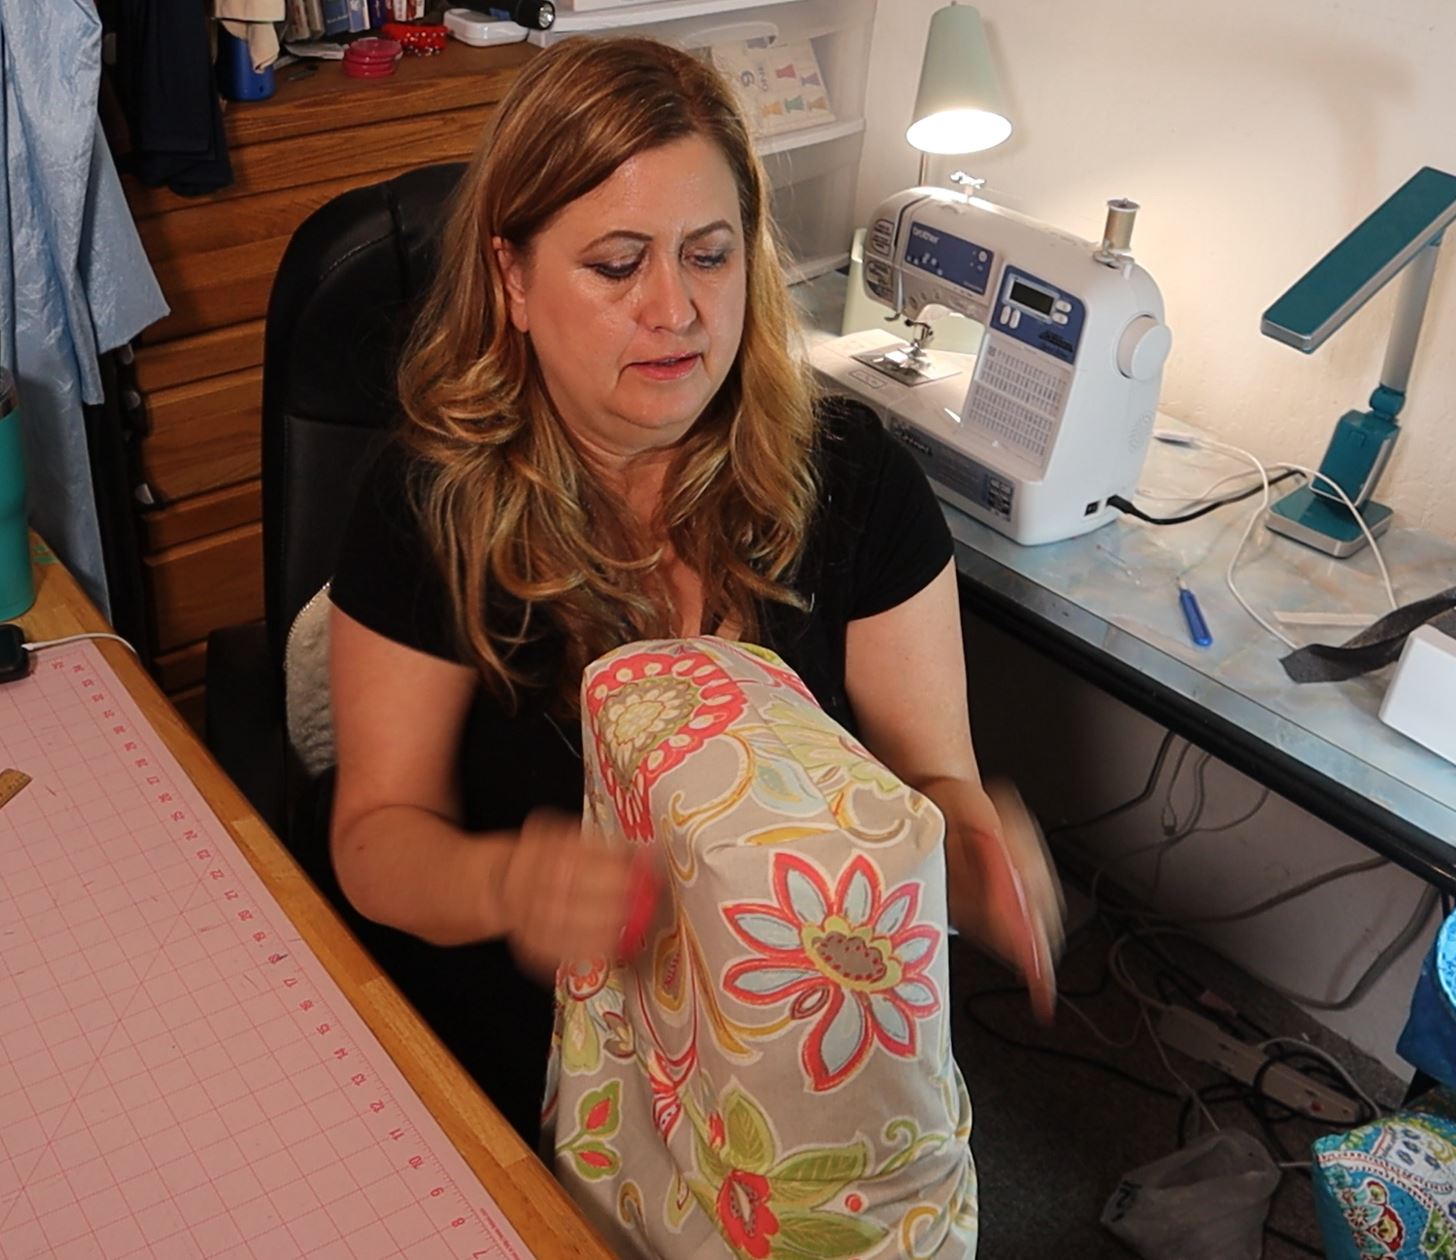
Step 7 – Hand Sew long seam, use invisible stitch. Here is a great video tutorial on the invisible stitch or ladder stitch. https://youtu.be/WbE5hXt27uU
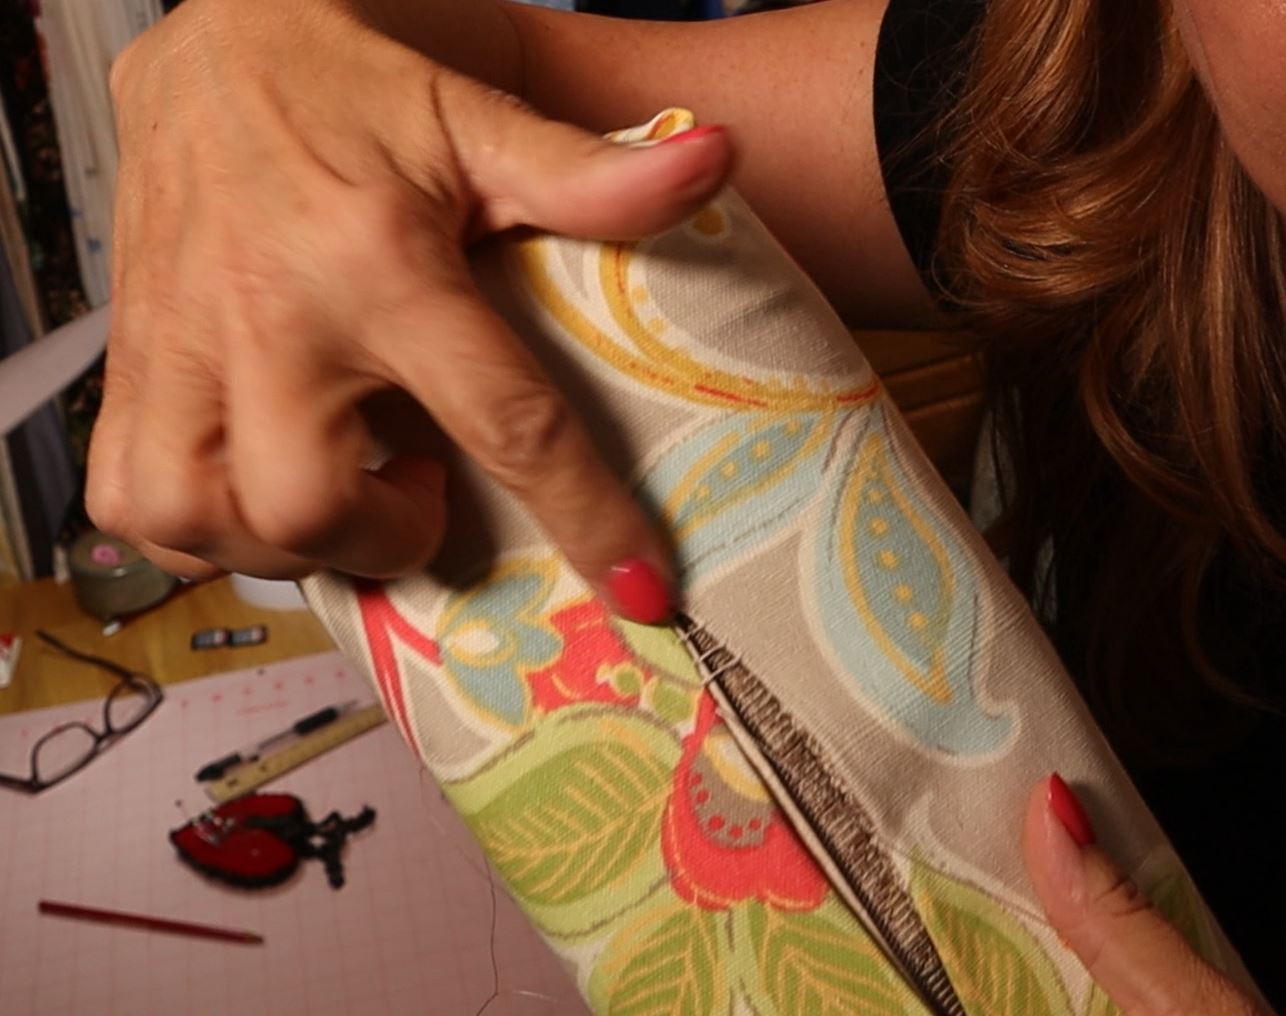
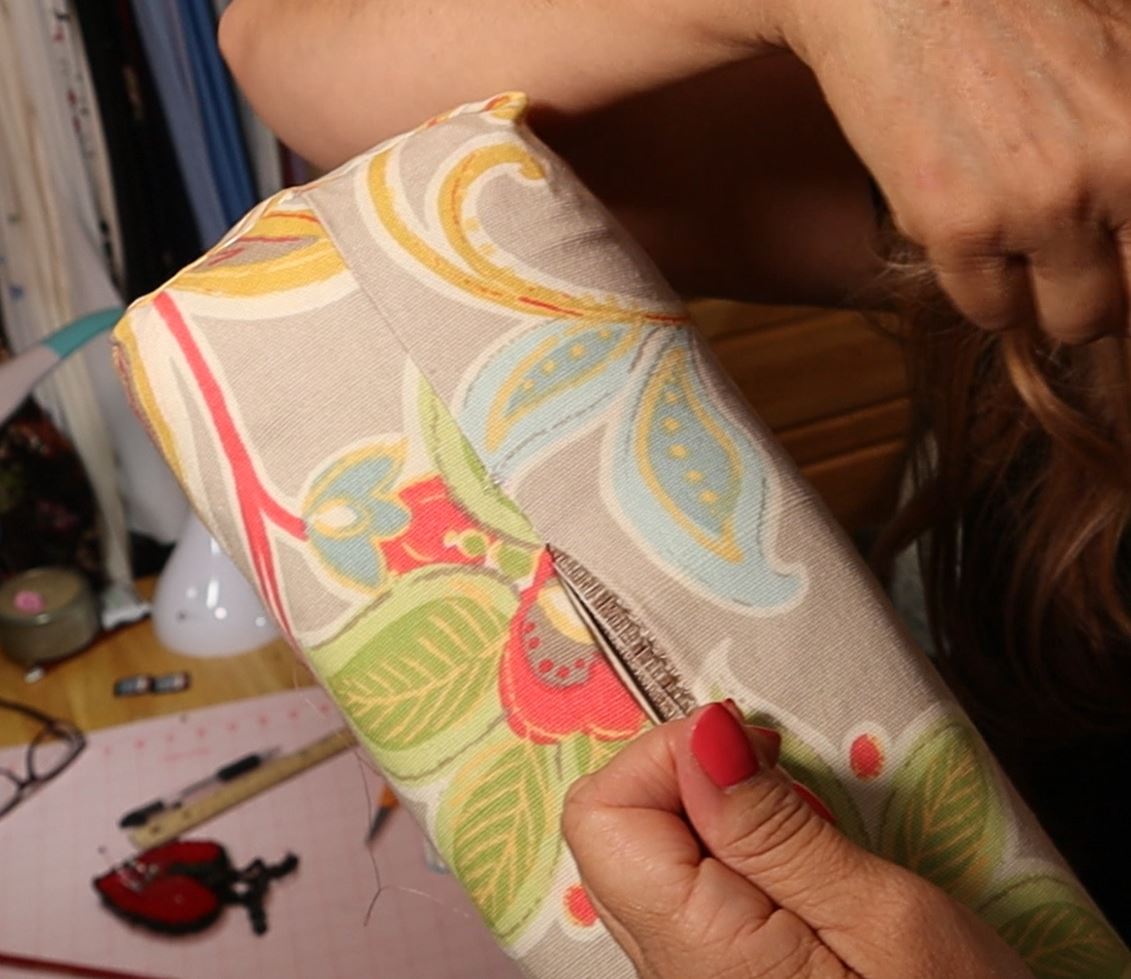
You’re done!! Happy Camping!!


Hi there! My bottom cushions have the board in them and I was wondering if you think it will be possible to use this method, since I won’t be able to “taco” the cushion to get it into the cover. Thank you for any insight!
Hi Ashley, It won’t work the way that I did it. I think you would be better off with a zipper, that maybe goes down the long side and one short side. It certainly does complicate it. I would just experiment. Maybe pin it in to place until you find what you like and then sew it. Good luck and happy camping!! Stephanie