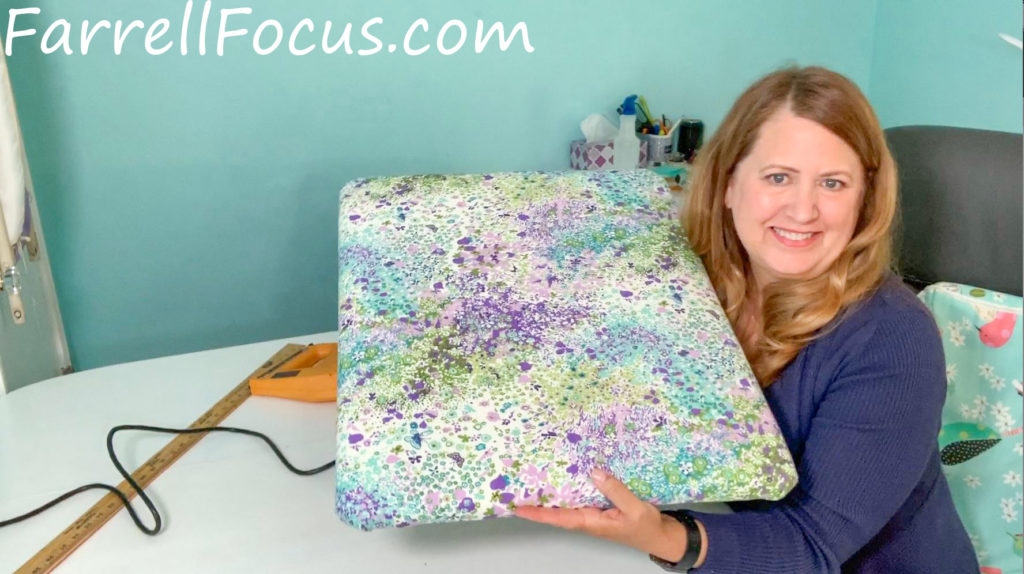
I’m in love with my new mini ironing board! And, I made it myself! With a little help from hubby, lol. I found this fun DIY Sewing Craft on one of my fun Facebook Groups for other sewing enthusiasts. If you would like to know more about that, come find me on Facebook, and I will share it with you. facebook.com/stephaniefarrell123
This craft was FAST and EASY! I love that I got to choose my own fabric that gave it a real custom feel. And, it goes great with the colors in my new sewing room.
The video I watched and learned all the details for how to make this project is Lori Holt on YouTube. She is great and her instructions are just what I needed to complete my own ironing board. If you would like to see it:
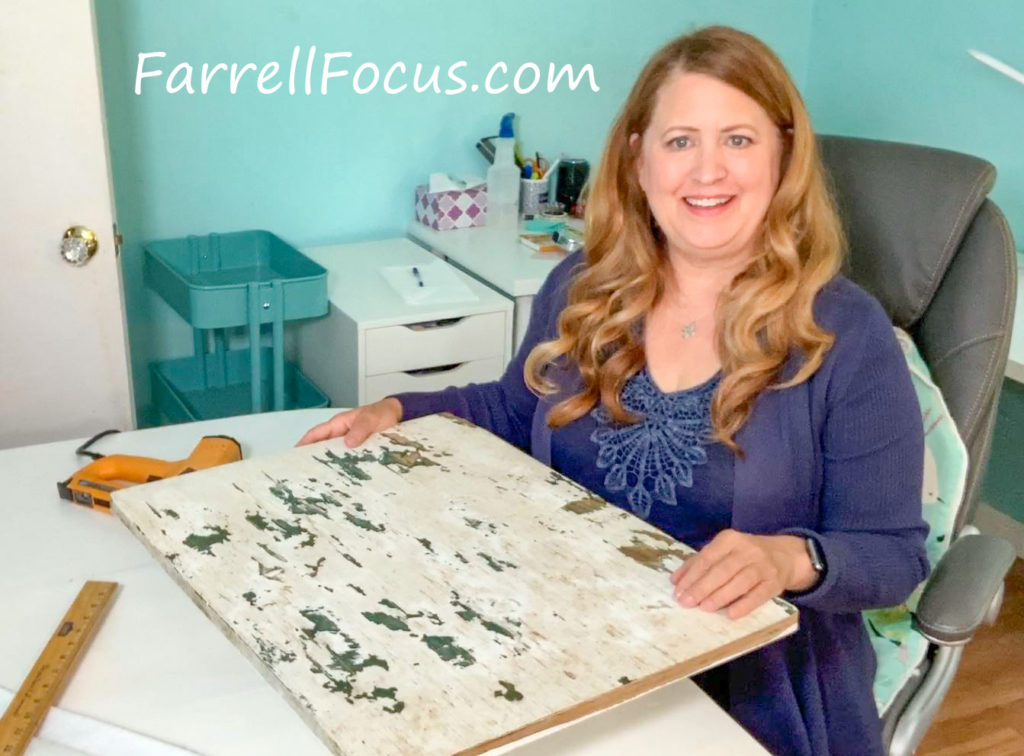
Start with a piece of plywood, cut to your custom dimensions. I used the same measurements that Lori Holt used, 16 x 24. After hubby cut it, he sanded the corners, attached the legs and painted the bottom white.
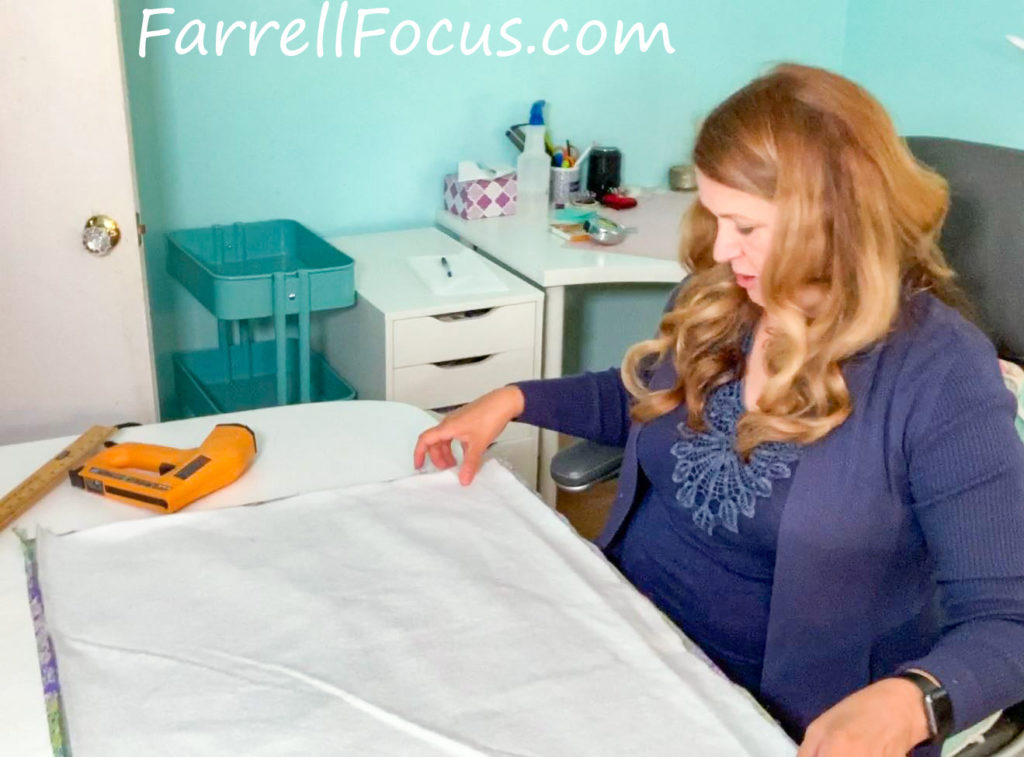
Next, cut your main fabric. For this I just laid the plywood on the fabric and cut it leaving about 3.5 inches all around. I then turned under about a half inch all around and ironed it. Just to make it neat.
Cut ironing board fabric just a little bit smaller than your main fabric.
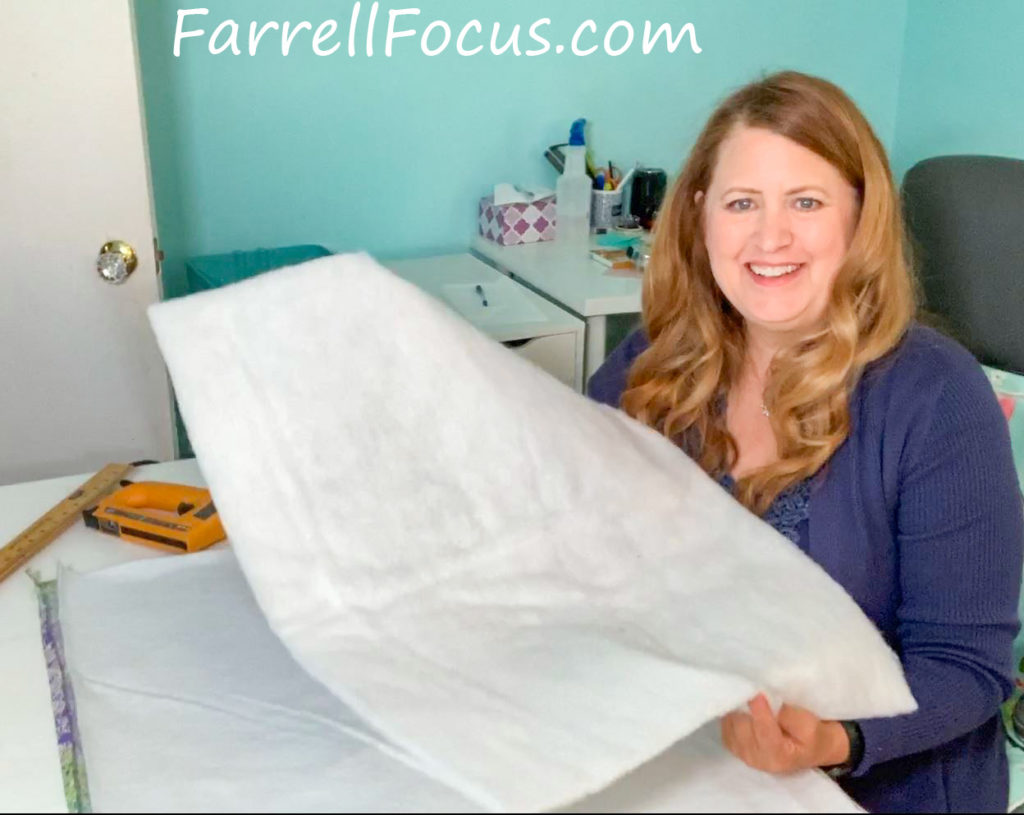
Next, add a layer of batting. Mine is smaller than the first two layers.
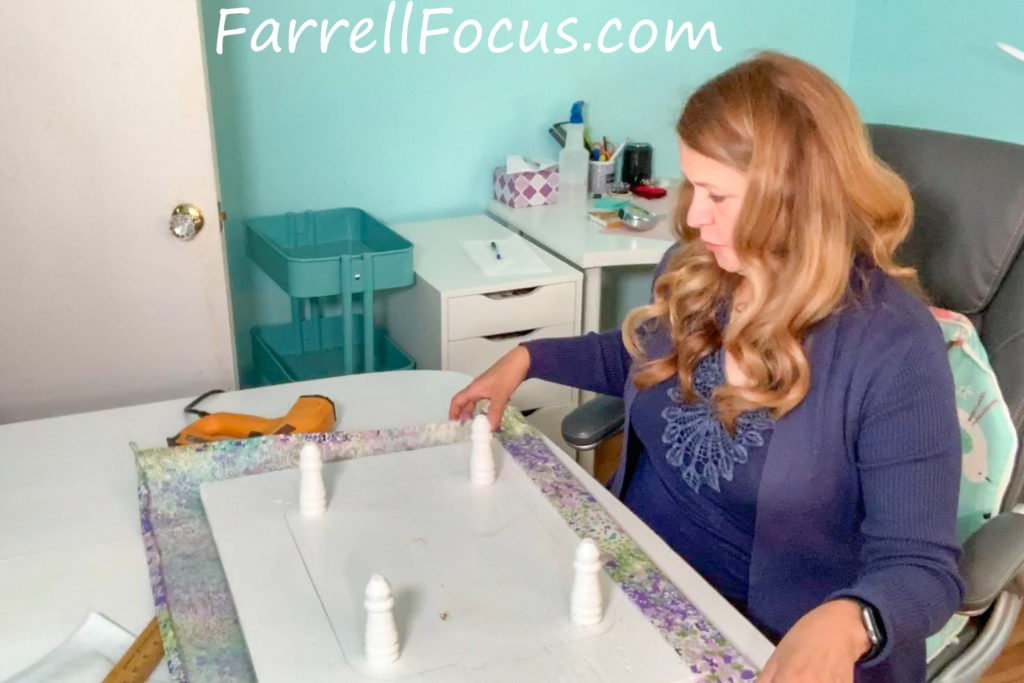
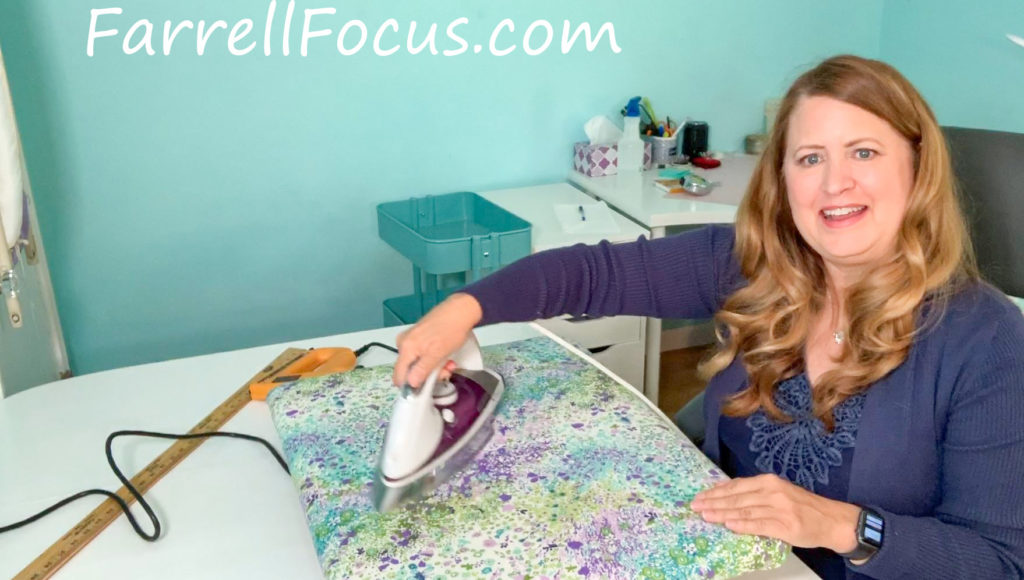
Lay the board on the fabric, pulling the fabric tightly, staple to the wood, corners last.

All done and ready to use!!
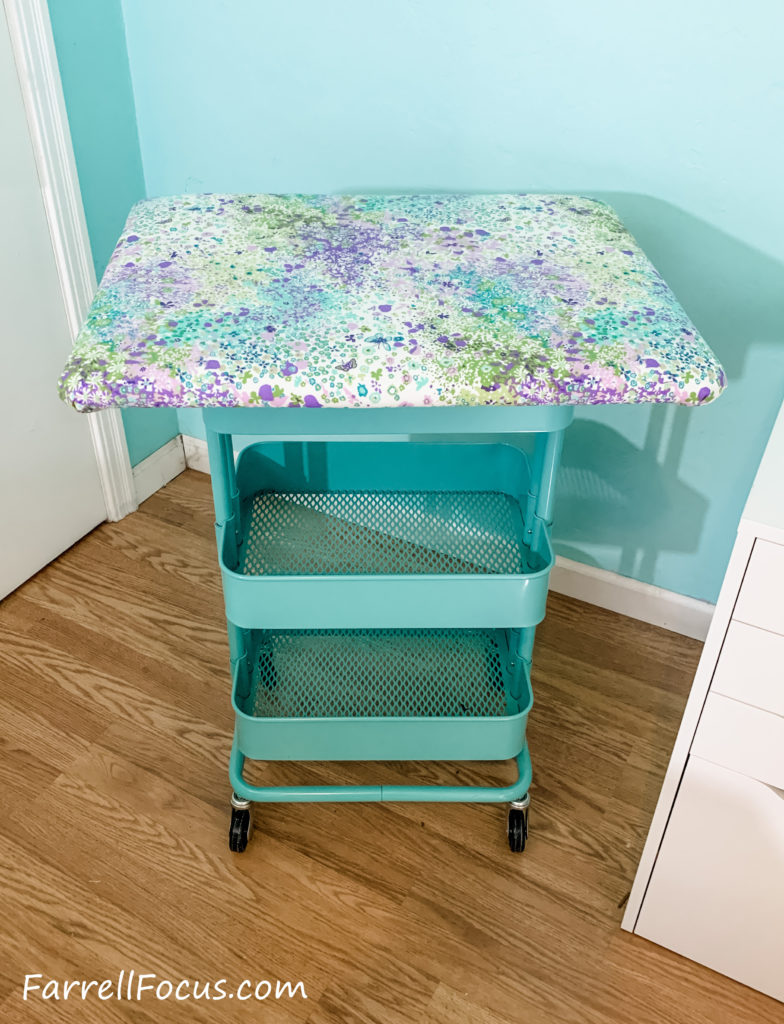
Fits inside IKEA rolling cart. How hand is that??
I’m sure I will be using this a lot!

Leave a Reply